Showing posts with label Minivan. Show all posts
Showing posts with label Minivan. Show all posts
Thursday, June 14, 2018
Dents, Paint & Headlamp Restore on Toyota Minivan
After 10+ years of use this Toyota Sienna had a few noticeable wounds. The owner had us fix dents and repaint the entire minivan with a durable, reasonably priced, urethane single-stage paint. We also restored the headlights.
Before:
After:
Before:
After:
Monday, April 11, 2016
Reviving Old 2-Tone Cars
Before:
After:
Before:
After:
Before:
After:
Before:
After:
After:
Wednesday, February 17, 2016
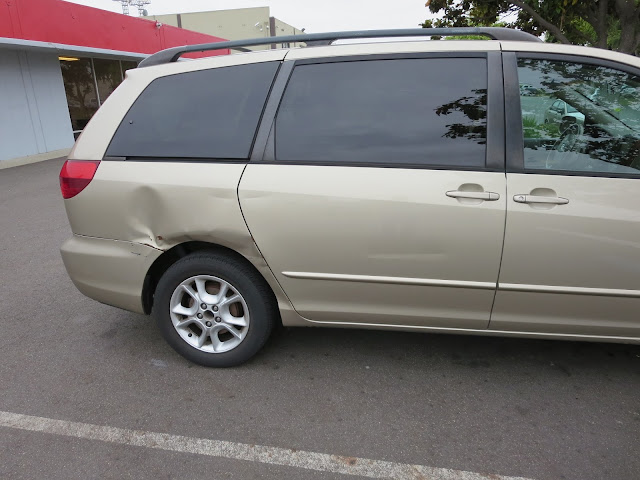
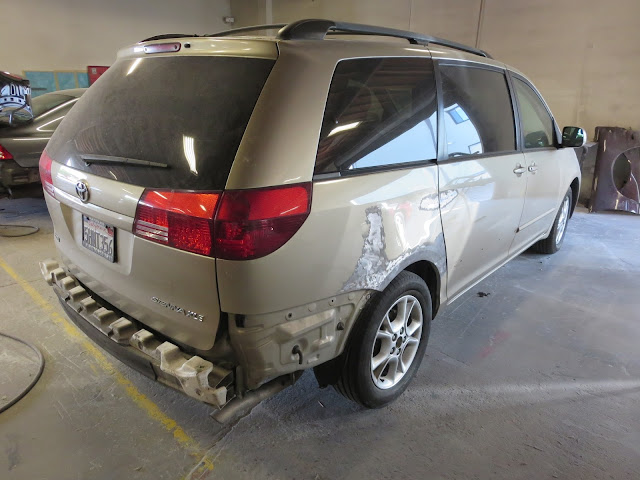
Toyota Sienna Collision Repair
Almost Everything's Car of the Day is a 2004 Toyota Sienna with huge dents in the door and quarter panel plus dents & scrapes on the other sides. The customers chose to pay for repairs themselves. So we offered cost savings suggestions including painting the entire vehicle with an economical, Enamel + UV paint and masking the trim instead of removing it. If the trim parts are not removed there will be paint overspray on the edges of these parts. But this type compromise can save a lot of money and may make sense on an older vehicle.
Before:
Before:
Before:
After:
Before:
After:
Before:
After:
Monday, November 23, 2015
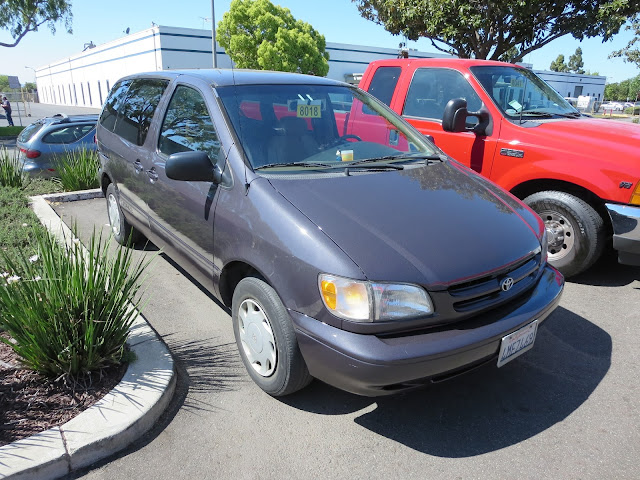
Color Change Breathes New Life into Minivan
How thrilled would you be to get to drive this 2000 Toyota Sienna everyday? The engine is still good but the exterior is hideous. The owner opted for new car paint and a new color over a new car payment.
After:
Before:
After:
Before:
After:
Before:
After:
Before:
After:
Monday, October 19, 2015
Bumper & Fender Repair
The bumper was partially torn off this Honda Odyssey minivan. We had to replace the bumper, fix a dent in the fender, and straighten the internal sheetmetal where these parts attached.
Before:
After:
Before:
After:
Monday, September 23, 2013
1999 Mercury Villager Re-Painted!
Almost Everything's Car of the Day is a 1999 Mercury Villager Minivan. This people mover came to our shop as many late 1990's vehicles do, its paint was peeling, faded and quite ugly. We started by first removing the peeling or "delaminating" paint, smoothing all of the old jagged edges of paint down to an even, paintable surface. Next up was primer-sealer; we applied a coat before paint to ensure proper adhesion. Finally its beautiful, original color was painted on with our Enamel paint, losing the "2 tone" color scheme for a more modern look!
Before:
After:
Before:
After:
Before:
After:
Before:
After:
Before:
After:
Subscribe to:
Comments (Atom)


